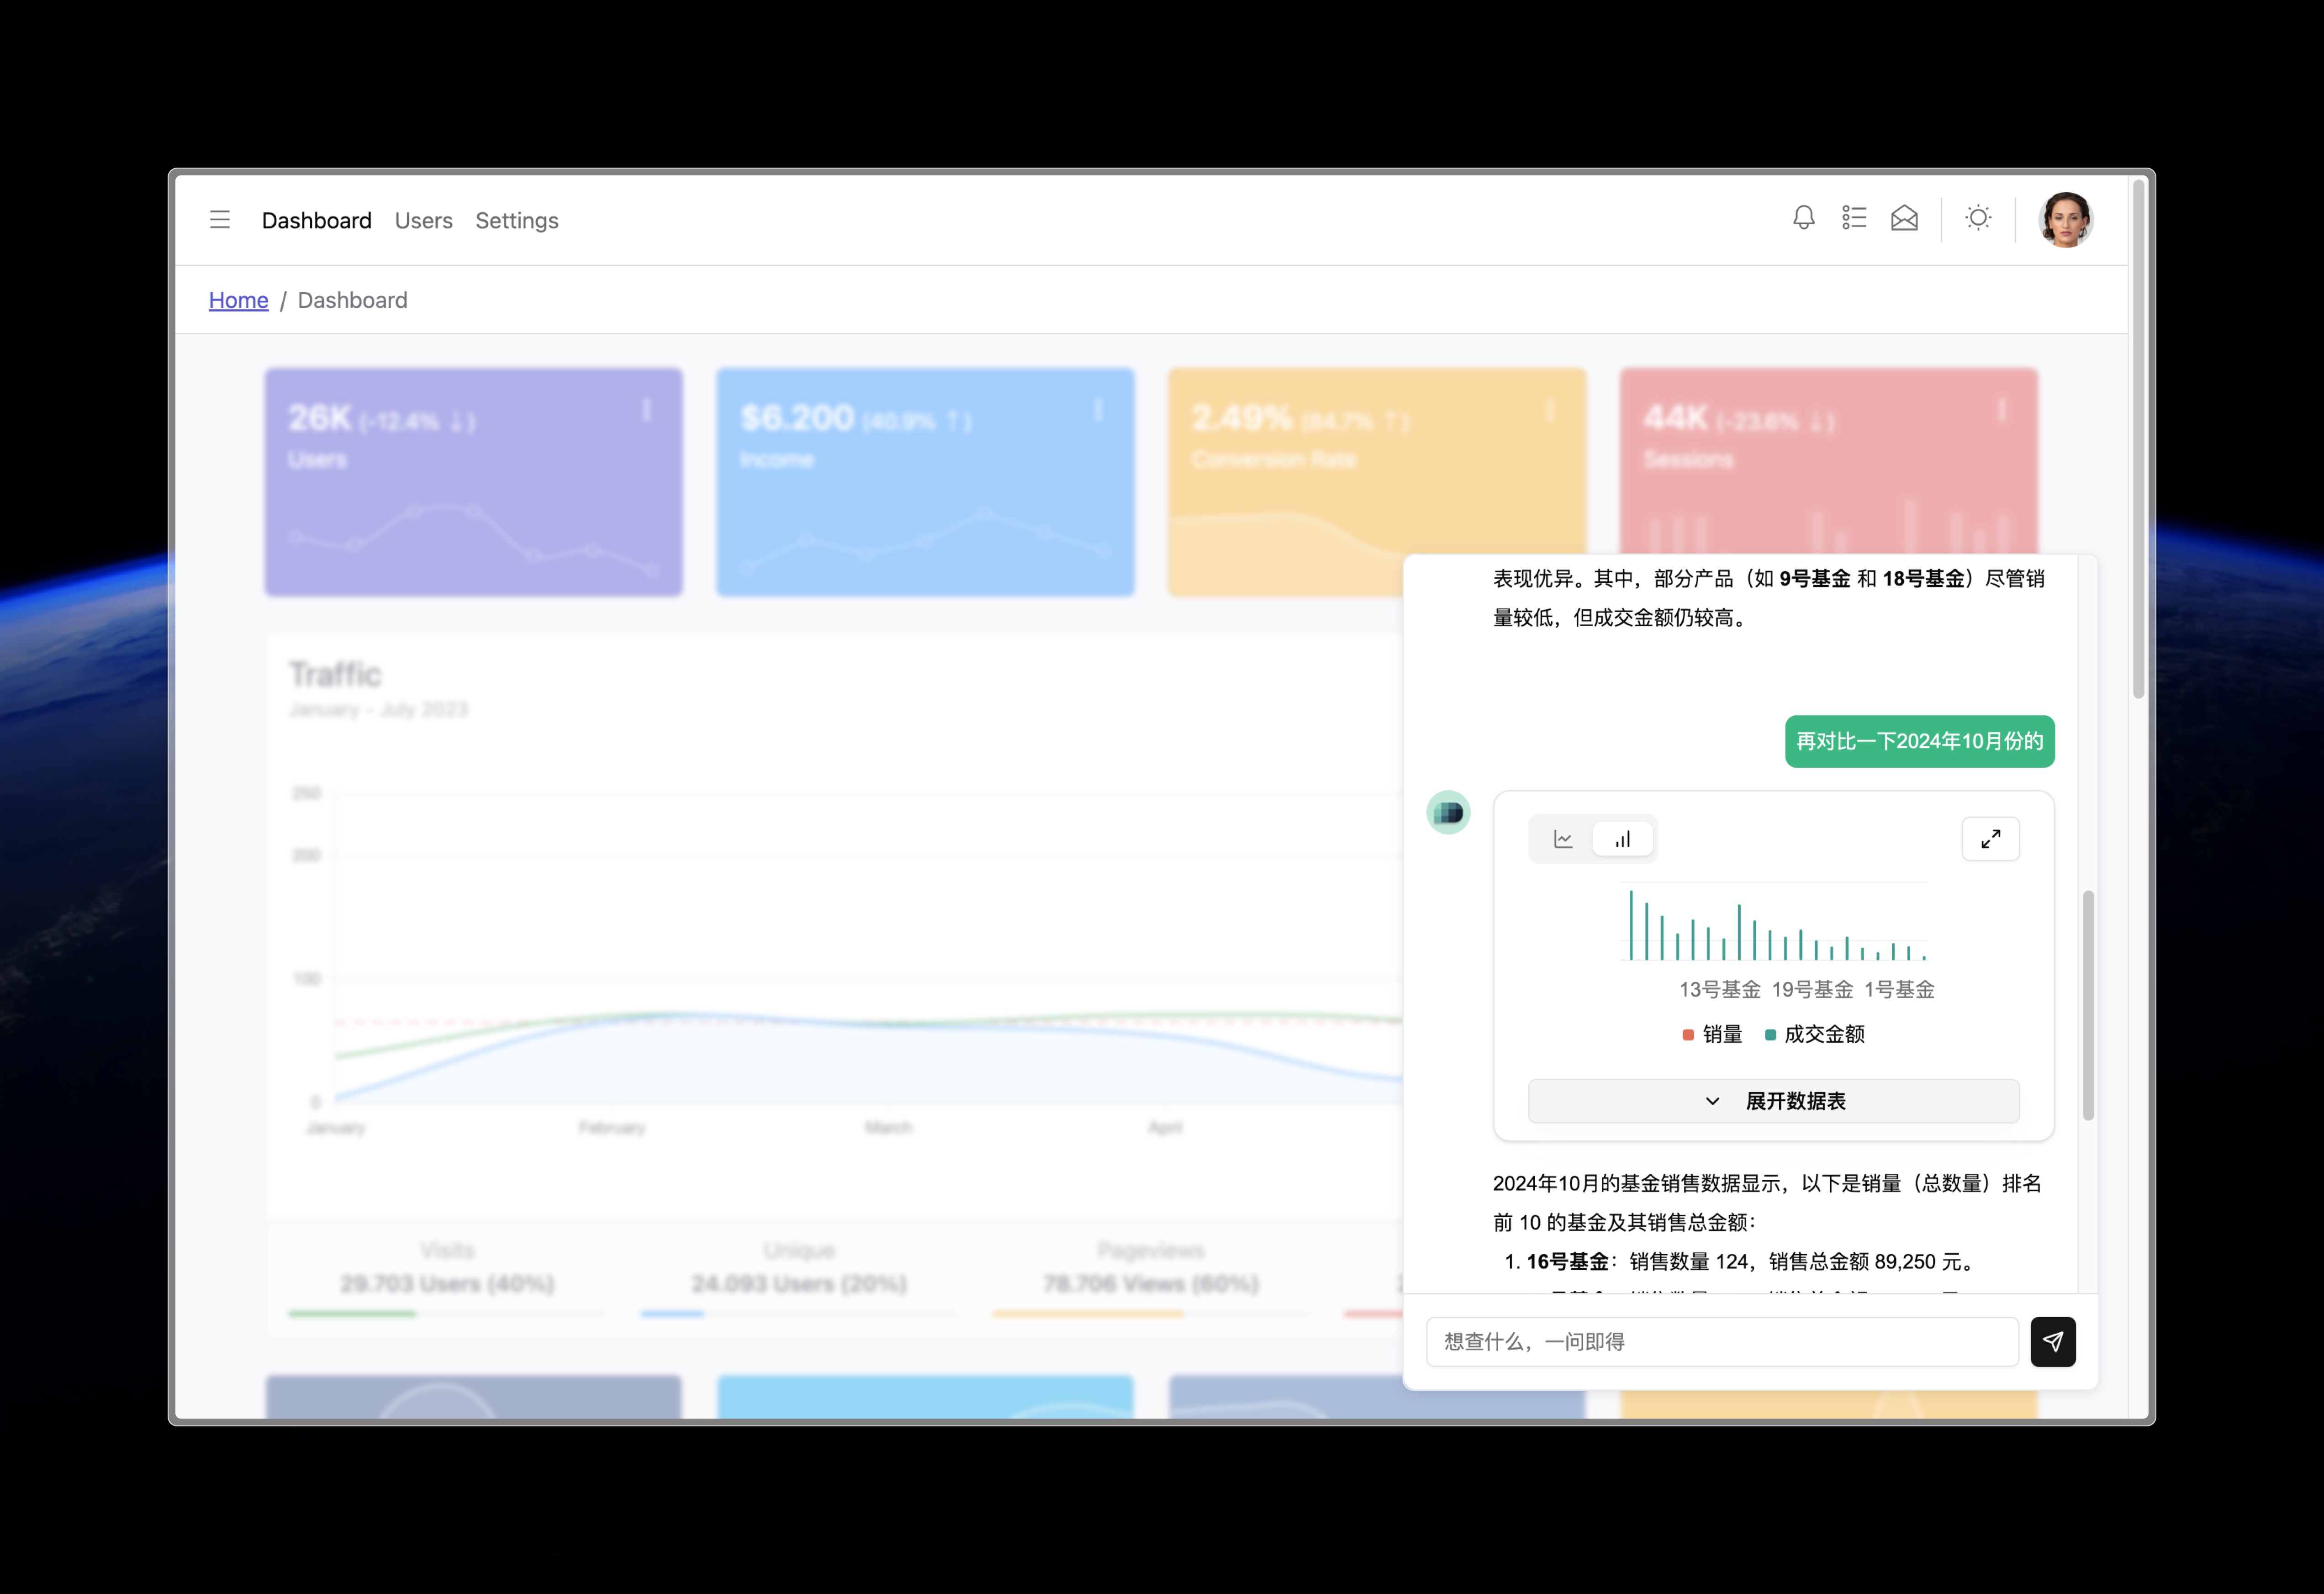
Chatbot Integration Example in Your Website
In this tutorial, we’ll demonstrate how to embed the AskTable chatbot widget into your website or application and enable basic conversation functionality. Whether your frontend is based on HTML5, React, or another framework, you can follow the steps below for integration.

Prerequisites
- You must already have an API key. For detailed steps, please refer to Chatbot Widget Introduction.
Integration Options
When integrating the chatbot, you can choose between different methods based on your business needs:
Frontend-Only Integration
Best suited for:
- All users accessing your site have the same data access permissions
- No need for user-specific access control
- You want a quick and simple integration
This method only requires embedding the chatbot component in the frontend page. All users share the same API key, making the setup simple and fast.
Frontend + Backend Integration
Best suited for:
- You need to provide different data access permissions based on user identity
- You want to create isolated chat sessions for each user
- You have high requirements for data security and privacy
This method requires your backend server to participate in the integration process. You can dynamically assign different permissions based on user ID, roles, etc., achieving more fine-grained access control and personalized user experiences.
Choosing the right integration approach depends on your use case and security requirements. For simple applications with uniform access permissions, frontend-only integration is the easiest option. If fine-grained permission control is needed, frontend + backend integration is recommended.
Chatbot Integration Methods
Frontend-Only Integration
For frontend-only integration, follow these steps:
-
Create a chat session (chat) via API call from the frontend:
curl -X POST \
  'https://api.asktable.com/v1/chats' \
  -H 'accept: application/json' \
  -H 'content-type: application/json' \
  -H 'Authorization: Bearer {your_api_key}' \
  -d '{
    "bot_id": "your_bot_id",
    "name": "your_chat_name"
}' -
After receiving the chat session ID (
chatId), embed the iframe component in your frontend:<iframe
src="https://cloud.asktable.com/embed?chatId={your_chat_id}&apiKey={your_api_key}"
width="100%"
height="100%">
</iframe> -
In the
srcparameter of the iframe
chatId: The chat session ID you just createdapiKey: The API key with asker permissions. Alternatively, you can use a temporary token, see TEMP-TOKEN for details.maxMessages(Optional): The maximum number of messages a user can send (including chat history). Once the limit is reached, no more questions can be asked.
This method is simple to implement and ideal for scenarios where all users have the same data access permissions.
Frontend + Backend Integration
Frontend + backend integration offers more advanced permission control. Follow these steps:
-
Your backend server generates a temporary token and assigns user-specific permissions.
- Refer to the Authentication and Authorization documentation for how to create a temporary token.
-
The frontend receives the temporary token from the backend and uses it to create a chat session:
curl -X POST \
  'https://api.asktable.com/v1/chats' \
  -H 'accept: application/json' \
  -H 'content-type: application/json' \
  -H 'Authorization: Bearer {temporary_token}' \
  -d '{
    "bot_id": "your_bot_id",
    "name": "your_chat_name"
}' -
Once the chat session ID is obtained, embed the iframe in your frontend page:
<iframe
  src="https://cloud.asktable.com/embed?chatId={your_chat_id}&apiKey={temporary_token}"
  width="100%"
  height="100%">
</iframe>
This method is suitable for use cases that require differentiated data access based on user identity. It allows you to create isolated chat sessions for each user, meeting higher standards for data security and privacy.