Defining Access Policies
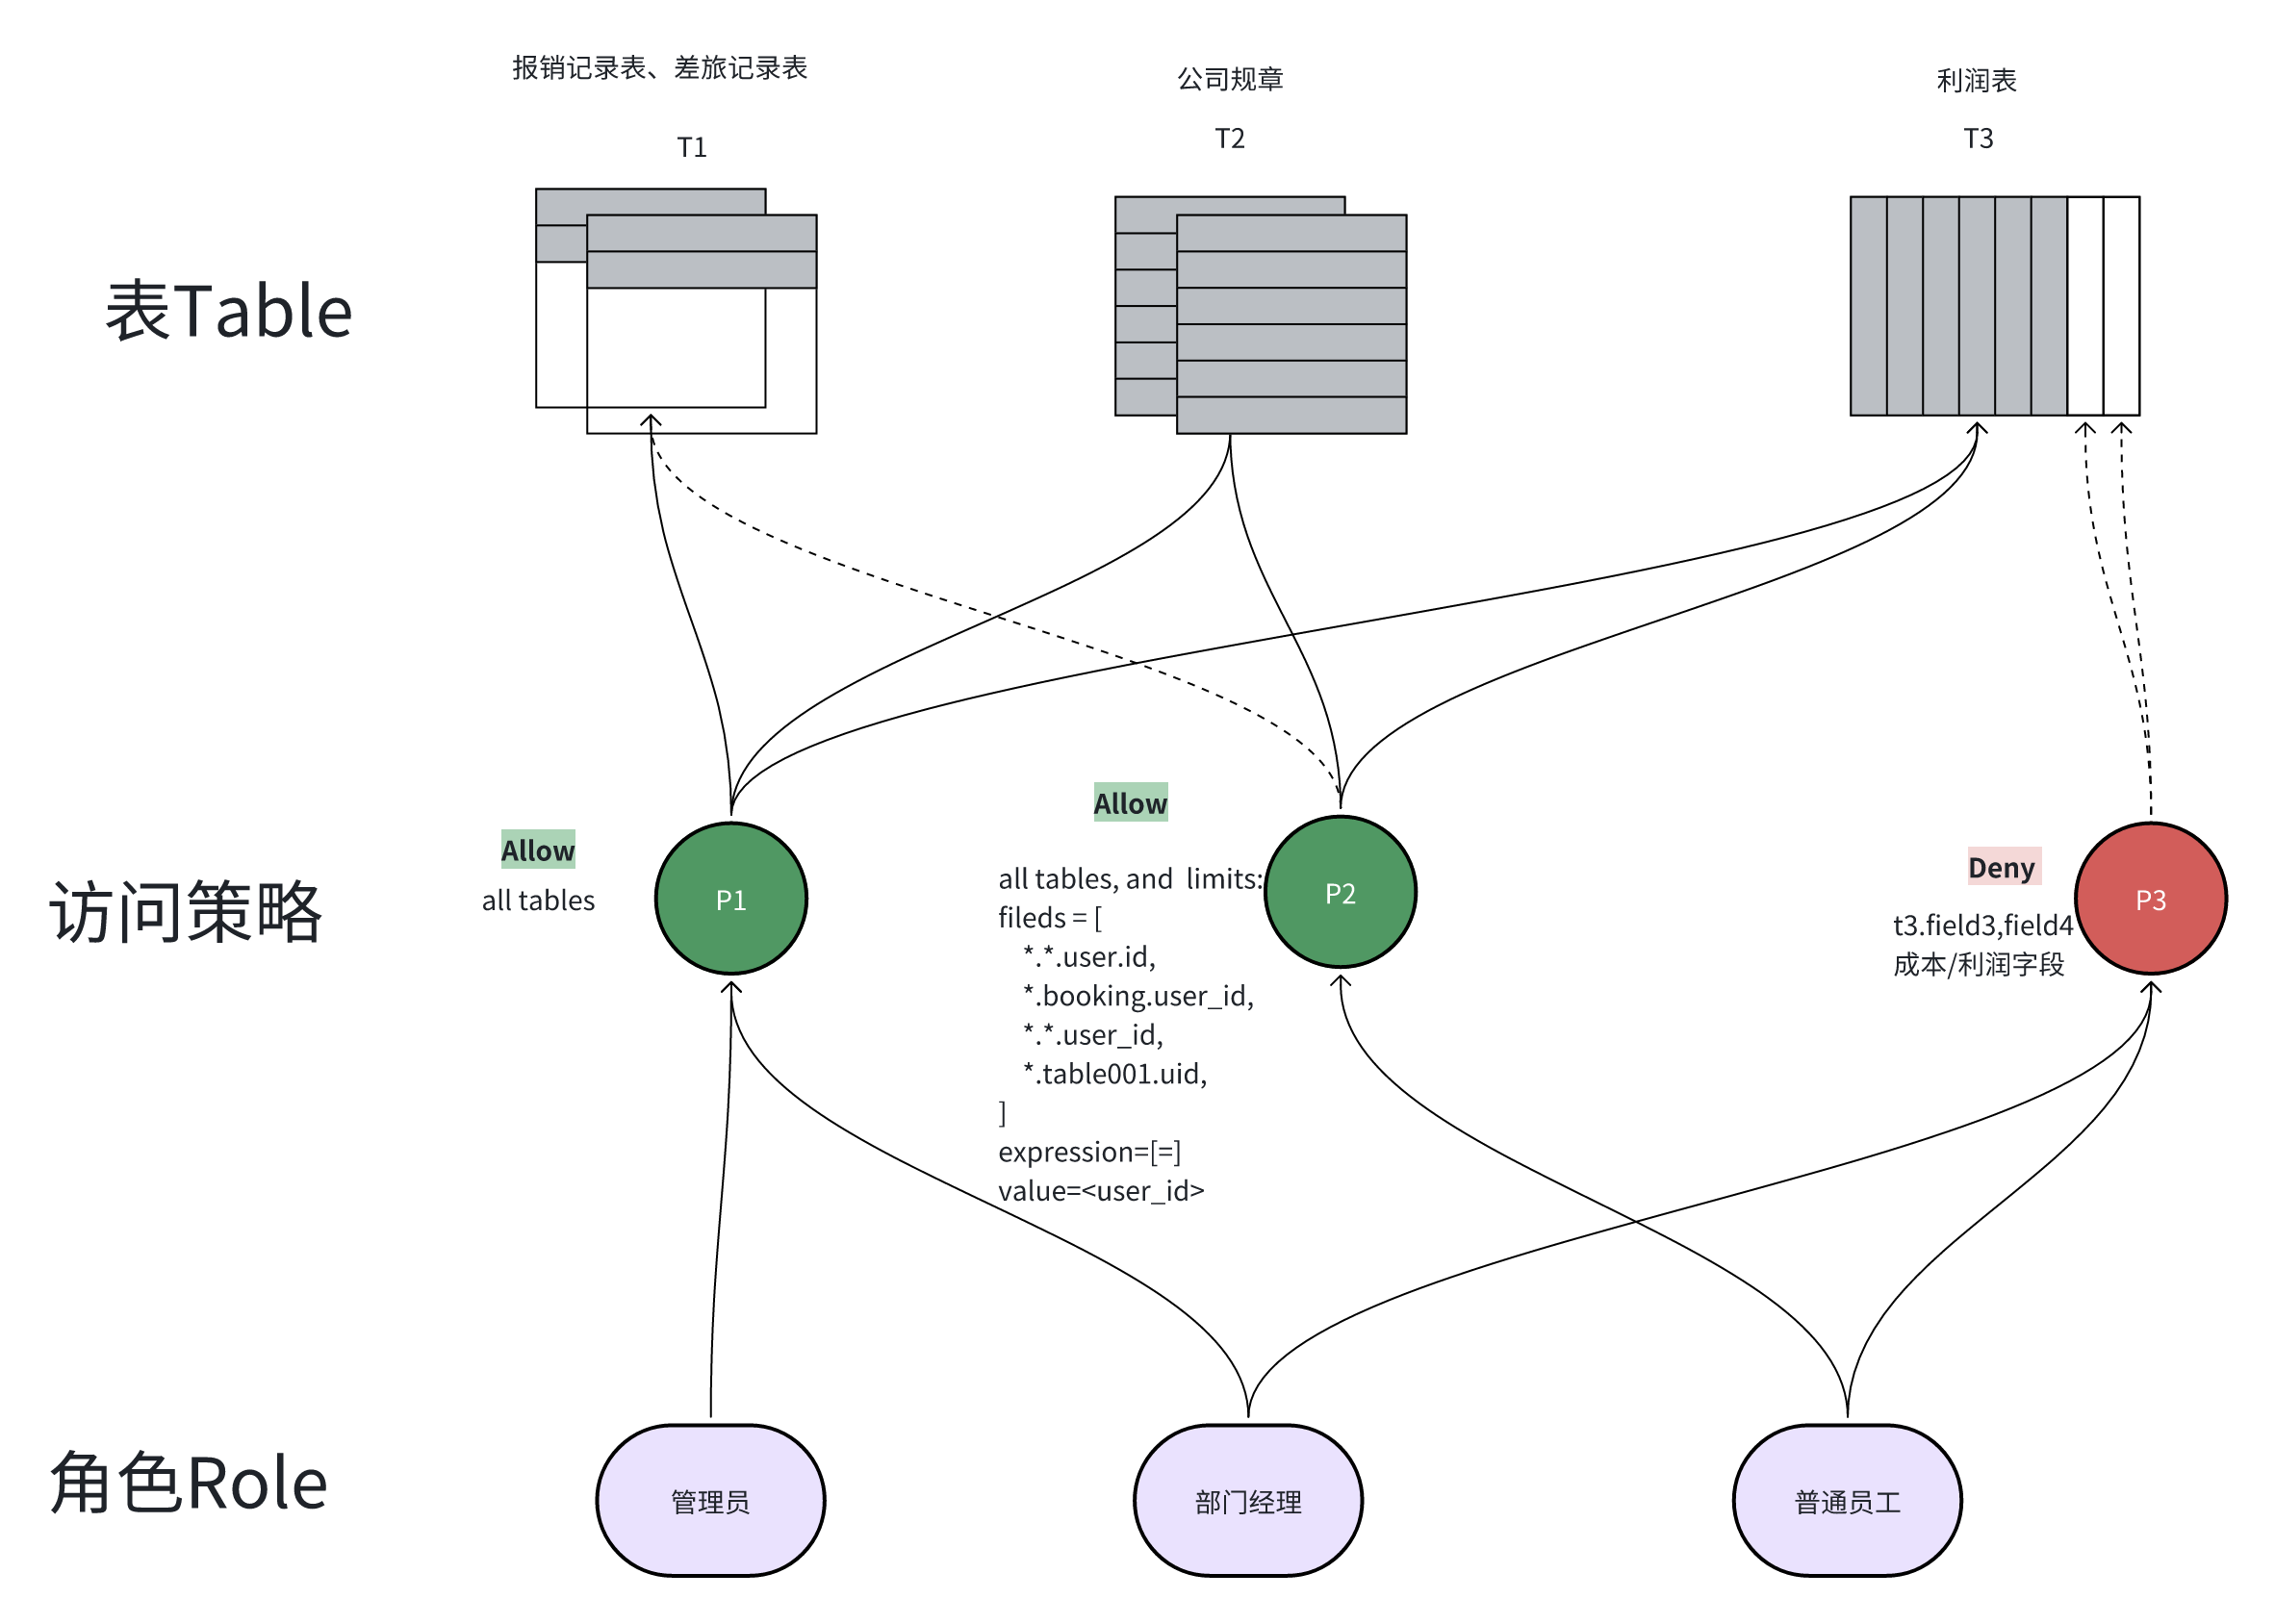
Access policies are at the core of role and permission management, allowing you to control user access permissions to specific resources. In AskTable, you can flexibly define access policies according to your business needs.
How Access Policies Work
Access policies work by determining user data access permissions through a series of rules. These rules can be based on data sources, tables, fields, or even rows of data. The detailed explanation of how access policies work is as follows:
- Data Source Level Control: Policies can specify which data sources users can access.
- Table Level Control: By matching table names with regular expressions, policies can control user access to specific tables.
- Field Level Control: Policies can specify whether users can access specific fields, such as sensitive information fields.
- Row Level Control: Through row filters, policies can control user access to specific rows of data in a table, often associated with user attributes like user ID.

Creating Access Policies
- Log in to the AskTable Management Console.
- Navigate to the “Permission Management” page.
- Click the “Create Policy” button.
Basic Elements of an Access Policy
- Policy Name: Assign a name to the policy for identification and management.
- Permission Rules: Define specific permission rules, including the types of operations allowed or denied and the resources involved.
Examples of Permission Rules
Here is an example code snippet for creating an access policy via API:
Allow Access to All Data
policies.create(
    permission='allow',
    name='allow_all',
    dataset_config={
      "datasource_ids": "your_datasource_id",
    }
)
Deny Access to the Salaries Table
policies.create(
    permission='deny',
    name='deny_salaries',
    dataset_config={
        "datasource_ids": "your_datasource_id",
        "regex_patterns": {
            'tables_regex_pattern': '.salaries.',
        }
    },
)
Deny Access to the Employees Table’s Phone Number Field
policies.create(
    permission='deny',
    name='deny_phone_number',
    dataset_config={
        "datasource_ids": "your_datasource_id",
        "regex_patterns": {
            "fields_regex_pattern": "phone_number",
            "tables_regex_pattern": ".employees.",
        }
    }
)
Allow Users to Access Their Own Data
policies.create(
    permission='allow',
    name='allow_myself',
    dataset_config={
        "datasource_ids": "your_datasource_id",
        "rows_filters": {
            "your_datasource_id": [
                '..employee_id = {{employee_id}}',
            ]
        }
    }
)
User Interface for Creating Policies
In the user interface for creating policies, you need to provide the following information:
- Name: The name of the policy, e.g.,
allow_myself. - Allow Access to the Following Data: Select the data source.
- Select Database Tables:
- Regular expression for matching database names: leave blank to match all.
- Regular expression for matching table names: leave blank to match all.
- Regular expression for matching field names: leave blank to match all.
- Row Filters: Define row filter conditions, e.g.,
public.*.id = {{user_id}}.
Assigning Policies to Roles
- After creating a policy, you need to assign it to the corresponding roles.
- Navigate to the “Role Management” page.
- Select a role and edit its permission configuration.
- Assign the policy to the role to control the role's access permissions to specific resources.
By defining and assigning access policies, you can ensure that users in different roles have appropriate permissions within the system, thereby protecting sensitive data and enhancing the security and compliance of the system.